How to make crispy pork cracklings at home
As an Amazon Associate we earn from qualifying purchases. Product links on this page may be affiliate links.
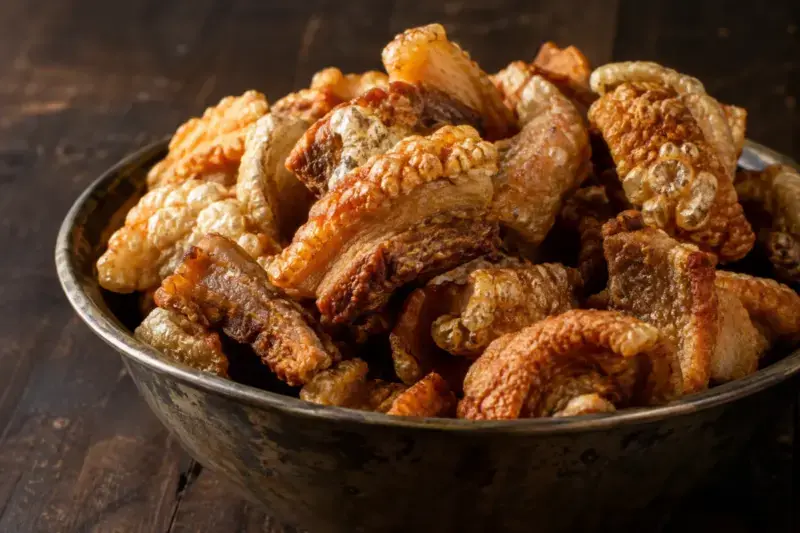
Cracklings — cracklins, pork crackling, chicharrones, depending on where you grew up — are pork skin and fat cooked until the water is gone and what is left puffs and shatters. Getting them right is not difficult, but it is unforgiving about two things: moisture and heat sequence. Get those wrong and you get leather instead of glass.
Here is the method, and the reasoning behind each step, so you can adapt it to what you have.
Table of Contents
- Cracklings, cracklins, pork rinds, chicharrones: not the same thing
- What actually makes crackling crisp
- Step 1 — Score the skin
- Step 2 — Dry it, properly
- Step 3 — Salt into the scores
- Step 4 — The two-stage cook
- Doing it on a grill or smoker
- Troubleshooting
- Storing them
- How to make pork rinds crispy again (and crackling too)
- Rendered fat is the by-product worth keeping
- Related
Cracklings, cracklins, pork rinds, chicharrones: not the same thing
Four words get used for four different products, and the recipe you need depends
on which one you actually want.
- Pork rinds are skin and nothing else — no fat, no meat. That is
why they puff into a light, airy curl when they hit hot fat. - Cracklings, or cracklins, keep a layer of fat on
the skin. They are chewier and meatier, and the fat is what stops them puffing up the
way a rind does. In Louisiana they are usually rendered from pork belly or back fat. - Chicharrones is the broadest term. It can mean skin with fat, skin
with meat still attached, and it is not always pork. - Crackling, in British and Australian usage, is the crisp skin on a
roasting joint — still attached to the meat, not a separate snack.
This page covers the last one: the crisp skin you get off a joint of pork, and the
pieces you break off it. If you want the airy bagged-snack texture, you want skin with
every scrap of fat scraped off, and that is a different job.
What actually makes crackling crisp
Skin is collagen, fat and water. Crisping is what happens when the water leaves and the remaining structure sets into a rigid foam.
A blast of high heat turns the residual moisture to steam, which inflates pockets in the skin. While those pockets are still inflated, the walls set in place. That is the whole mechanism — inflate, then set.
Which explains the two classic failures:
- Too much surface moisture — the skin steams rather than puffing, and never sets.
- Steady moderate heat — the water leaves slowly, no pockets inflate, and the skin dries into something hard and flat rather than light and shattering.
Step 1 — Score the skin
Cut close, even lines across the skin. Through the skin and into the fat, stopping before the meat.
Scoring does three jobs: it opens paths for the fat to render out, it lets salt and heat reach below the surface, and it gives the finished crackling its even lines. Line spacing of roughly a centimetre works well — closer gives smaller, more uniform pieces.
Cutting into the meat is the mistake to avoid. Juices escape upward through the cuts and wet the skin from below, which is exactly the moisture you have been trying to remove.
A sharp blade matters more than a special tool here — a dull knife drags the skin instead of cutting it. Many people use a flexible boning knife or a clean utility blade for the control.
Step 2 — Dry it, properly
This is the single most important step, and the one most often skipped.
Pat the skin completely dry, then leave it uncovered in the fridge overnight. The cold dry air of a fridge pulls surface moisture out over several hours in a way that no amount of paper towel achieves.
If you are short of time, a few hours helps. Overnight is better. Bone-dry skin is the difference between crackling and chewing.
Step 3 — Salt into the scores
Rub salt across the skin and into the score lines, not just over the top.
Salt does two things at once: it seasons, and it pulls further moisture out of the skin by osmosis. Coarse salt is easier to distribute evenly and easier to brush off if you overdo it.
Do this after drying, not before — salting early draws moisture to the surface, which is the opposite of what you want going into the oven.
Step 4 — The two-stage cook
This is where most recipes go wrong by picking one temperature and staying there.
Stage one: blast
450 °F (230 °C) for 20–30 minutes. This is what inflates the steam pockets and starts the puff. Watch it — this stage is fast and the line between golden and burnt is thin.
Stage two: settle
Drop to around 355 °F (180 °C) and continue until the meat underneath reaches 145–150 °F (63–65 °C) internal.
The order matters and is not interchangeable. High heat first sets the structure while the skin is still pliable enough to inflate. Low heat first dries the skin flat, and no amount of heat afterwards will puff something that has already set hard.
Working these margins needs an instant-read thermometer — the window between properly cooked and dried out is narrower than oven dials are accurate.
Doing it on a grill or smoker
The same logic transfers, with one adjustment: you need indirect heat for stage two.
- Charcoal — bank the coals to one side. Skin over the hot side for the blast, then move to the cool side to finish. Lid on, vents open.
- Pellet — most pellet grills top out around 500 °F, which is enough for stage one but the ramp is slower. Preheat fully before the skin goes on.
- Gas — burners on one side only, skin over the lit side to start, then across.
The one thing a grill does better than an oven: dry convective heat. The one thing it does worse: temperature stability during the drop from stage one to stage two.
Troubleshooting
| Problem | Cause |
|---|---|
| Leathery, chewy, never puffed | Skin was not dry enough going in |
| Puffed in patches only | Uneven scoring, or uneven contact with the rack |
| Burnt before it puffed | Stage one ran too long — it is 20–30 minutes, not until it looks done |
| Crisp then soft an hour later | Covered while still warm; steam softened it back |
| Meat dry but skin perfect | Stage two ran past 150 °F internal |
Storing them
Cracklings go soft when they reabsorb moisture from the air, so cool them completely uncovered before storing, then keep them in a container that actually seals. Never put warm cracklings in a sealed box — they steam themselves soft.
If they do soften, a few minutes in a hot oven brings most of the crunch back.
How to make pork rinds crispy again (and crackling too)
Crackling goes soft because it pulls moisture out of the air. It has not gone off
and it is not ruined — the water just needs driving back out, and that takes dry heat,
not more fat.
In order of how well they work:
- Oven, 400 °F / 200 °C, 2–3 minutes. Single layer on a
tray, and stay by the oven: at that temperature the gap between crisp and burnt is
about thirty seconds. If you would rather not stand over it, 375 °F / 190 °C
for 10–15 minutes, stirring halfway, is gentler and harder to ruin. - Air fryer, 350 °F / 175 °C, 5–7 minutes. Shake the
basket once or twice. The moving air makes this the most forgiving method. - Re-frying, for pieces that have gone properly limp. A quarter inch
of oil at 360 °F / 180 °C, one to two minutes. This is the only method that
reliably rescues crackling that has absorbed real moisture rather than a little
humidity. - Microwave, 30–45 seconds on a plate lined with kitchen paper.
Quickest, and the worst result: it drives off some water but the texture comes back
brittle rather than crisp. Use it when you are eating them in the next two minutes.
Whatever you use, let them cool fully before you judge the result. Crackling out of
the oven is always softer than crackling that has sat for five minutes — the last of
the crispness sets as it cools, which is also why the piece you steal straight off the
tray never seems as good as the rest.
To avoid the problem: airtight container, room temperature, and never the fridge.
Cold air is damp air, and the fridge will soften them faster than the counter will.
Rendered fat is the by-product worth keeping
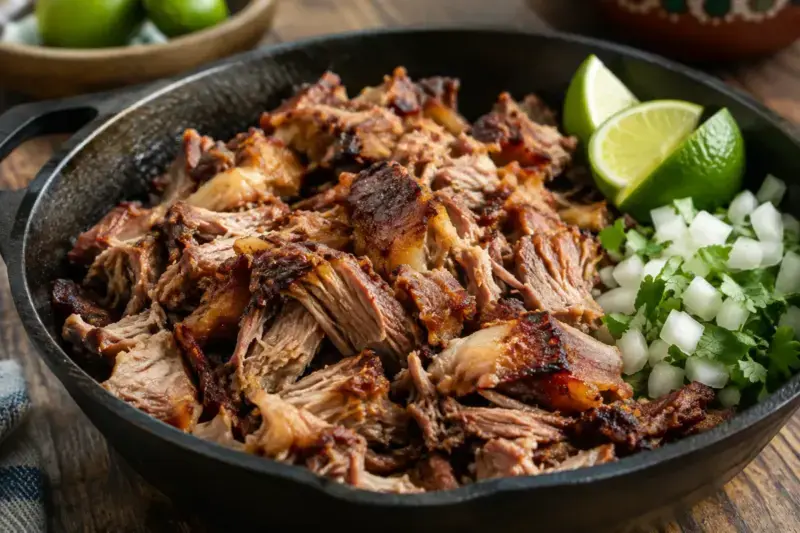
Whatever fat renders out is lard, and it is genuinely good cooking fat — for roasting potatoes, for refried beans, and for carnitas, which are traditionally cooked in it. Strain it while warm through a fine sieve and keep it in the fridge.
Throwing it away is the most common waste in this whole process.
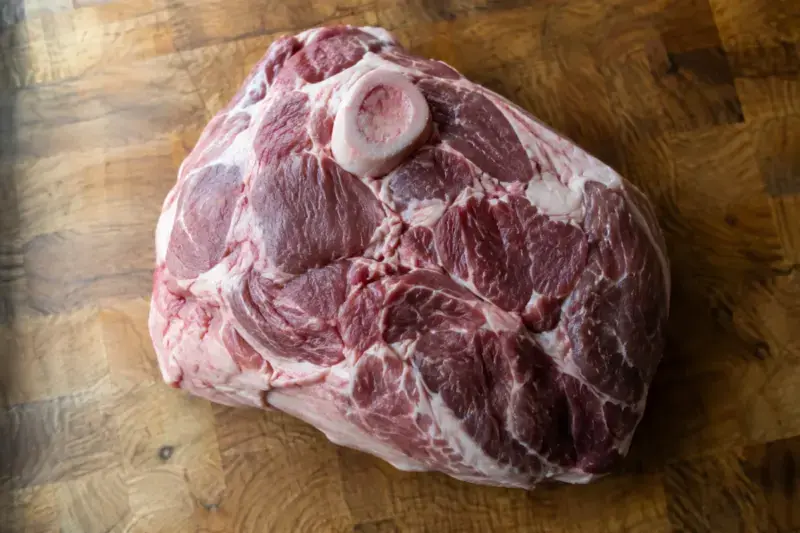
If you are working from a whole pork shoulder, it is worth knowing how the cuts break down before you start. And for the equipment side, our gear guide covers thermometers and knives.
Last reviewed 14 September 2026.
If you want to know other articles similar to How to make crispy pork cracklings at home you can visit the category Pork Recipes.
More embers